Adventures in consumer electronics repair: GE clock radio
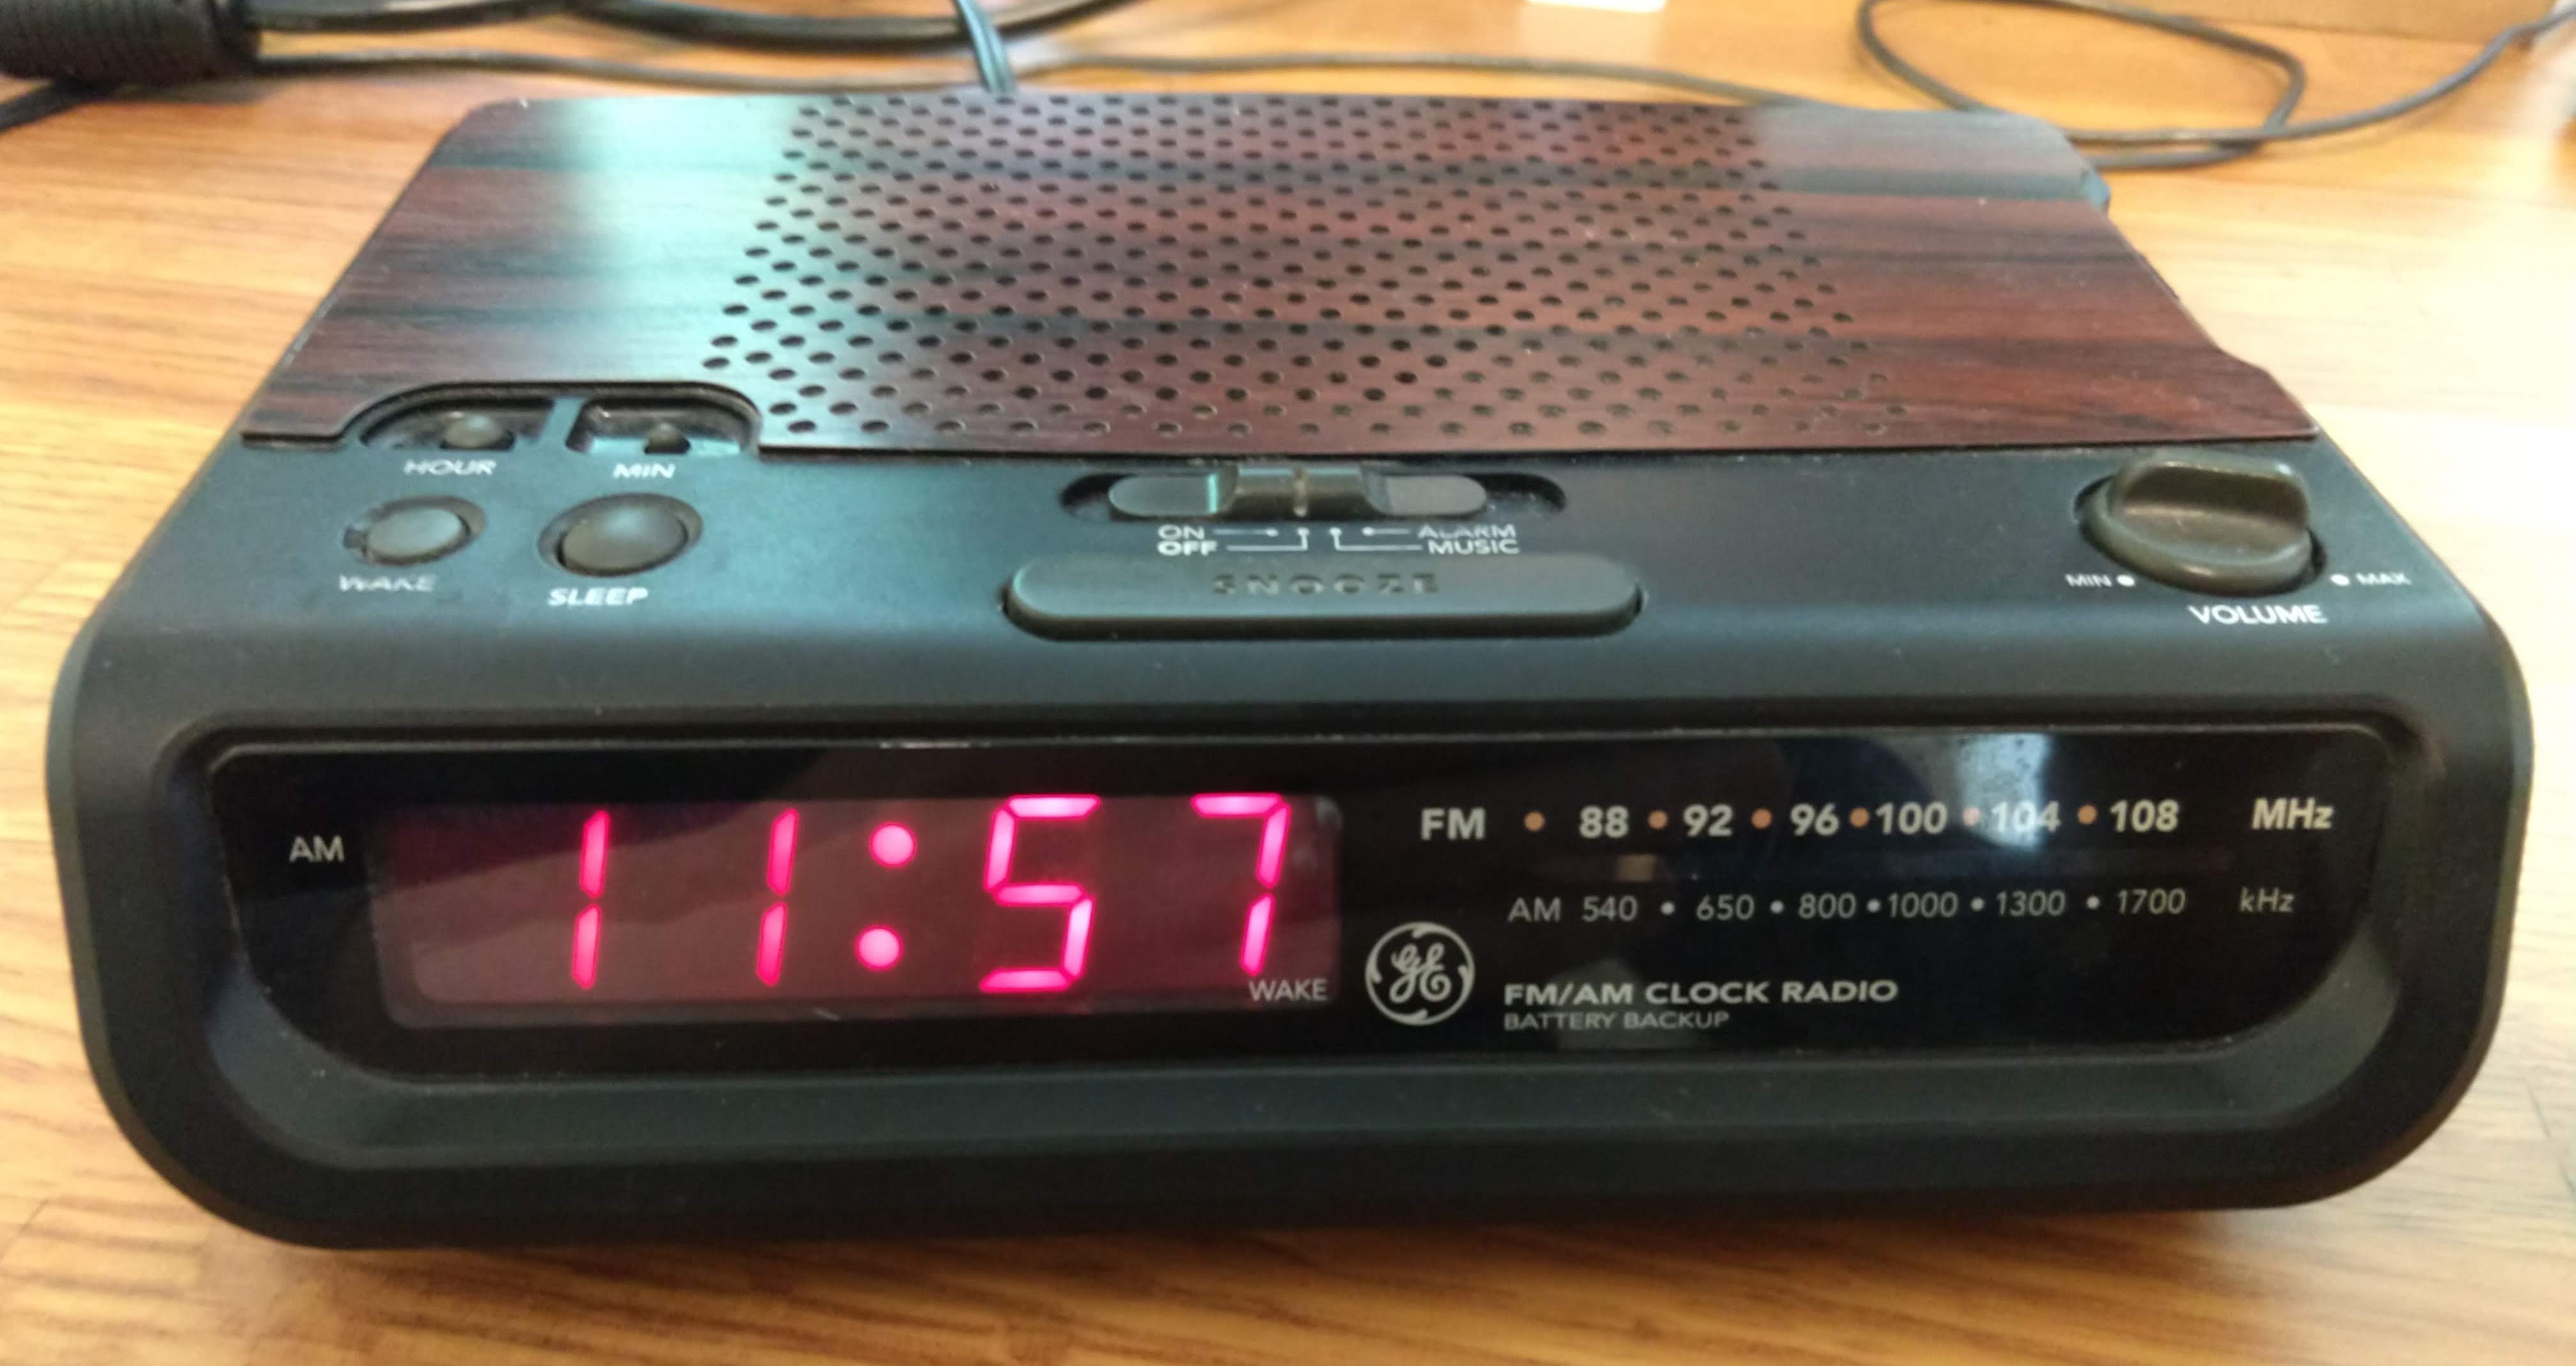
I’ve had this GE clock radio ever since I was little. I took it with me to college, and then after I graduated I brought it with me across the country.
It’s been a faithful companion over the years, but it’s starting to show its age. The main slider for selecting between off / on / alarm / music doesn’t work reliably. The radio also has a 9-volt battery backup for keeping the time when there’s a power interruption, but lately it seems to run fast when it’s on backup power.
We’d been having power outages fairly often, unfortunately. After the latest outage I tried to reset it to the current time, but to my dismay I found the “MIN” button no longer functioned at all.
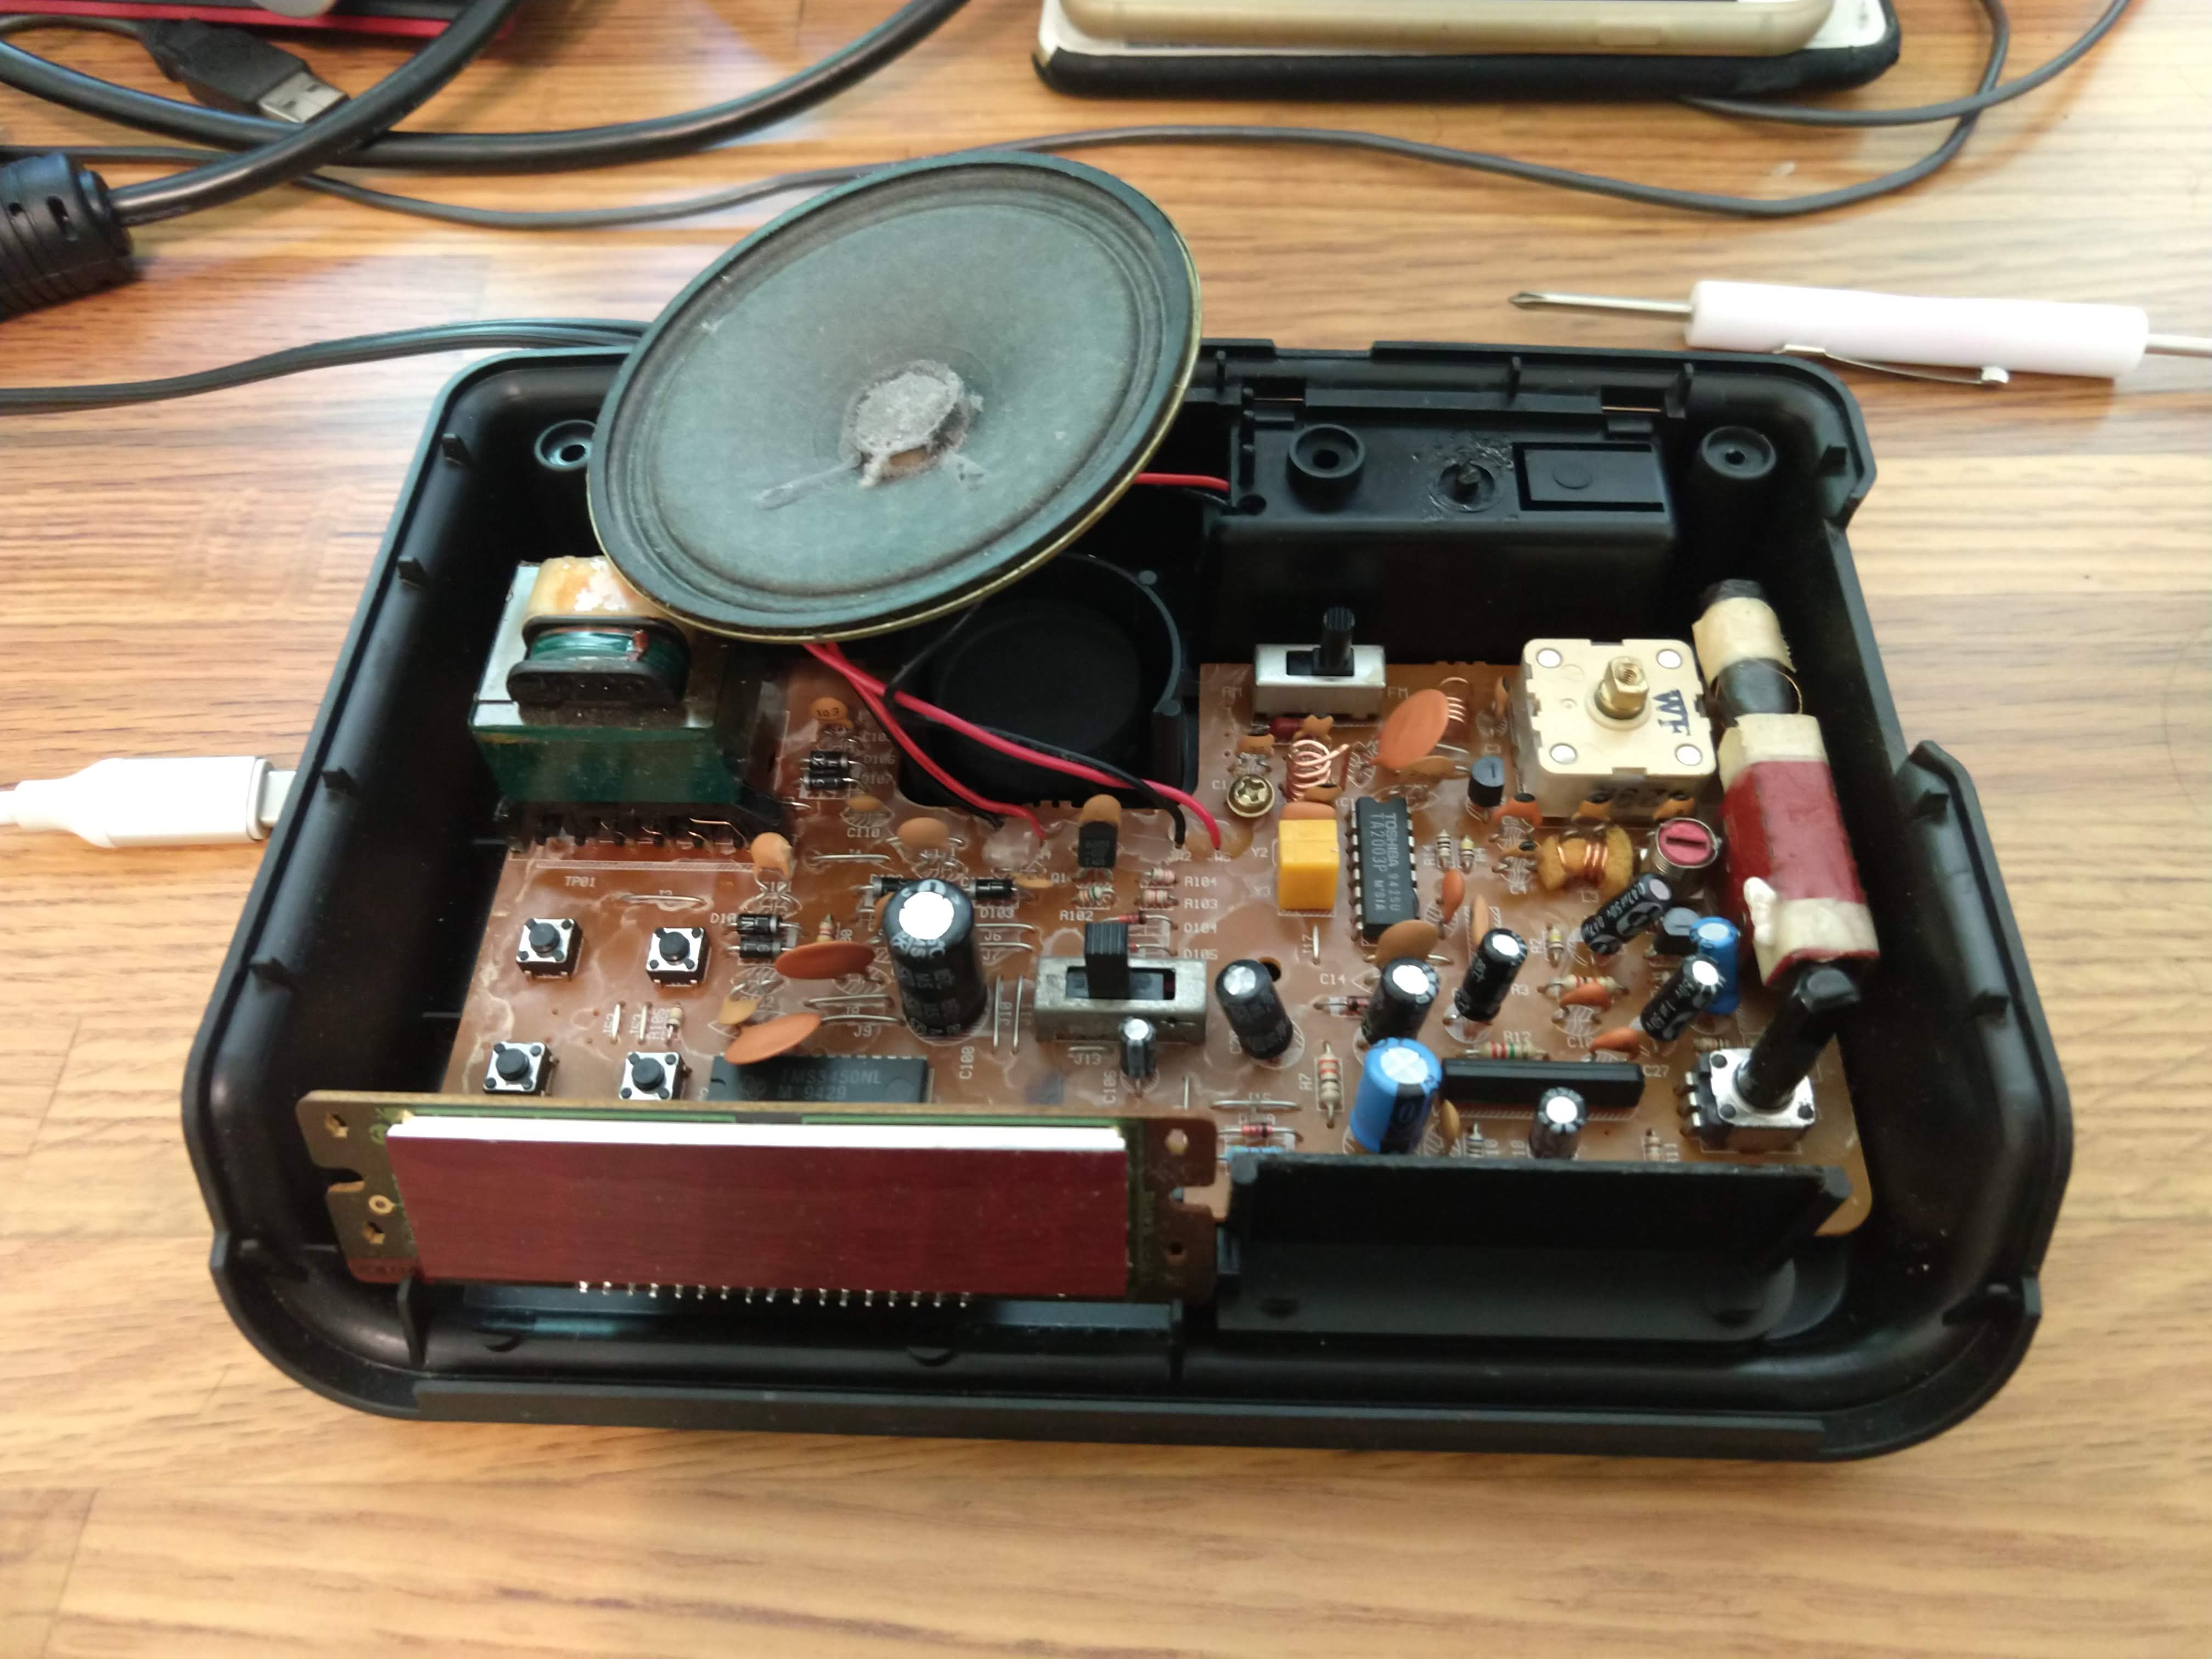
Having developed quite the sentimental attraction to this clock, I thought I’d take it apart and see if I couldn’t fix it.
After removing some screws and pulling off some knobs, I was finally able to coax the cover off. What did I find, but a set of 6mm tactile switches!
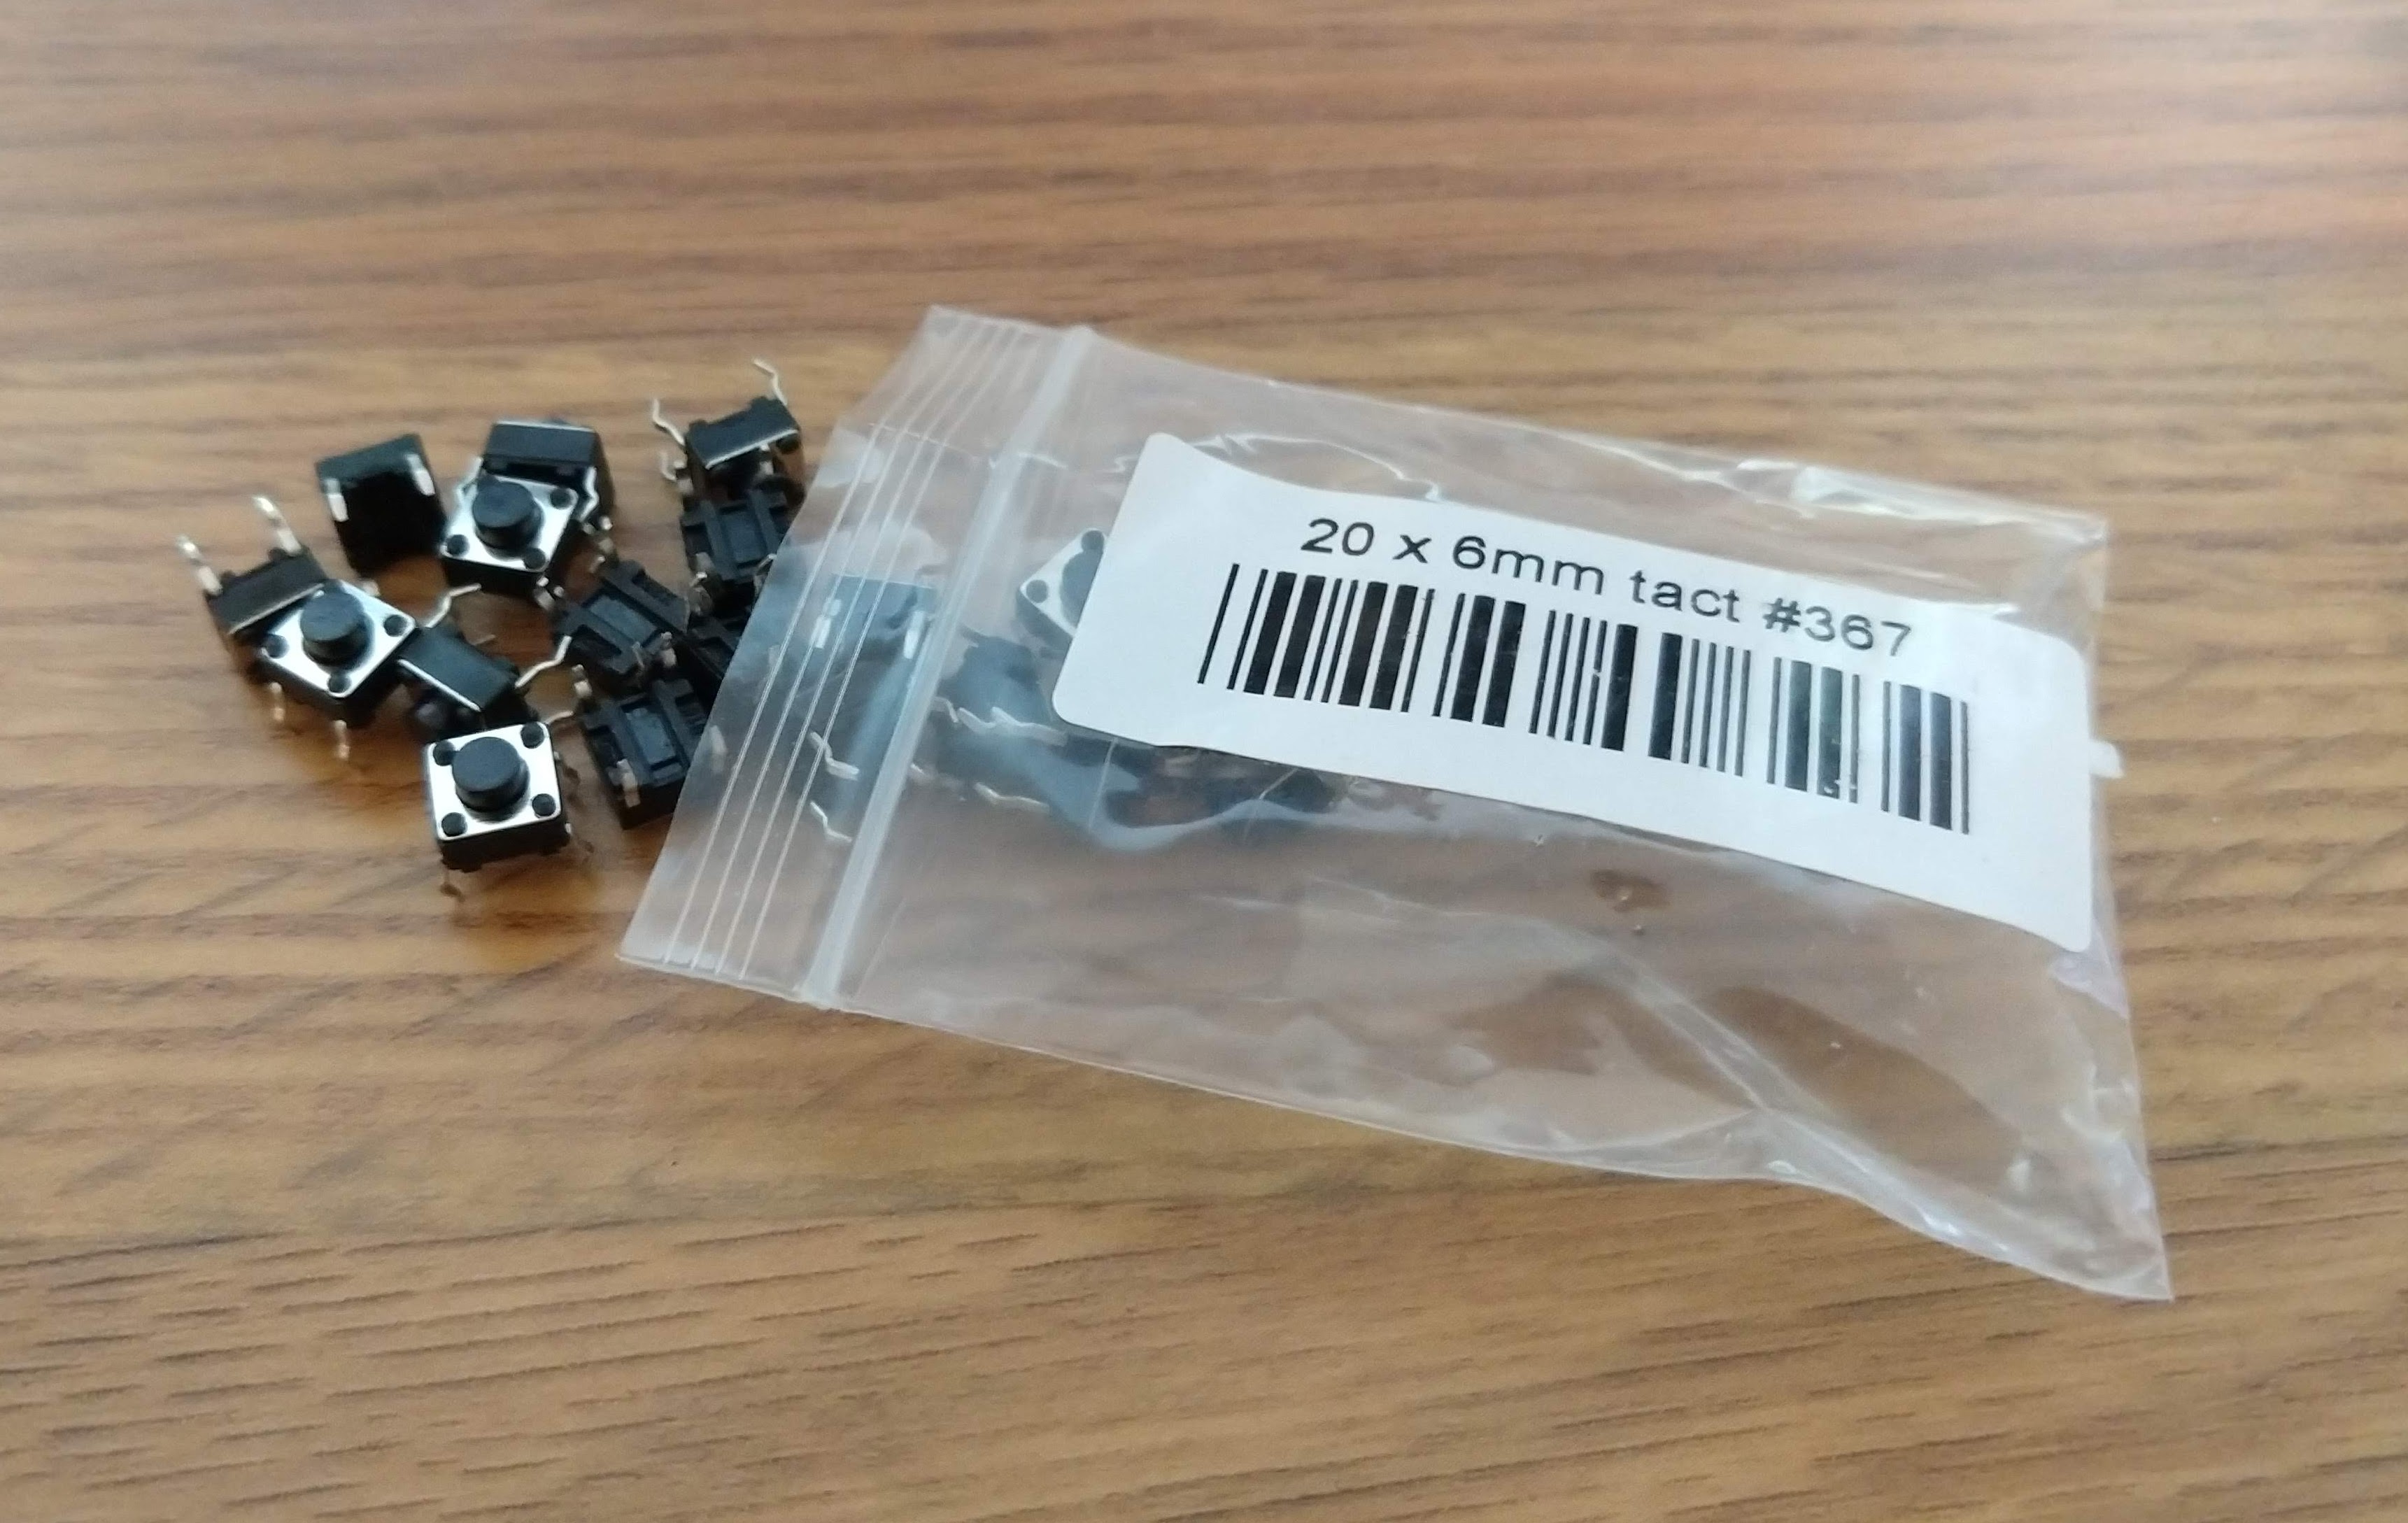
Rummaging through an old shoebox of electronics doodads, I found I had a little baggy full of identical-looking switches. Judging from the part number, I must have bought these from Adafruit, probably when I was messing around with Arduino stuff.
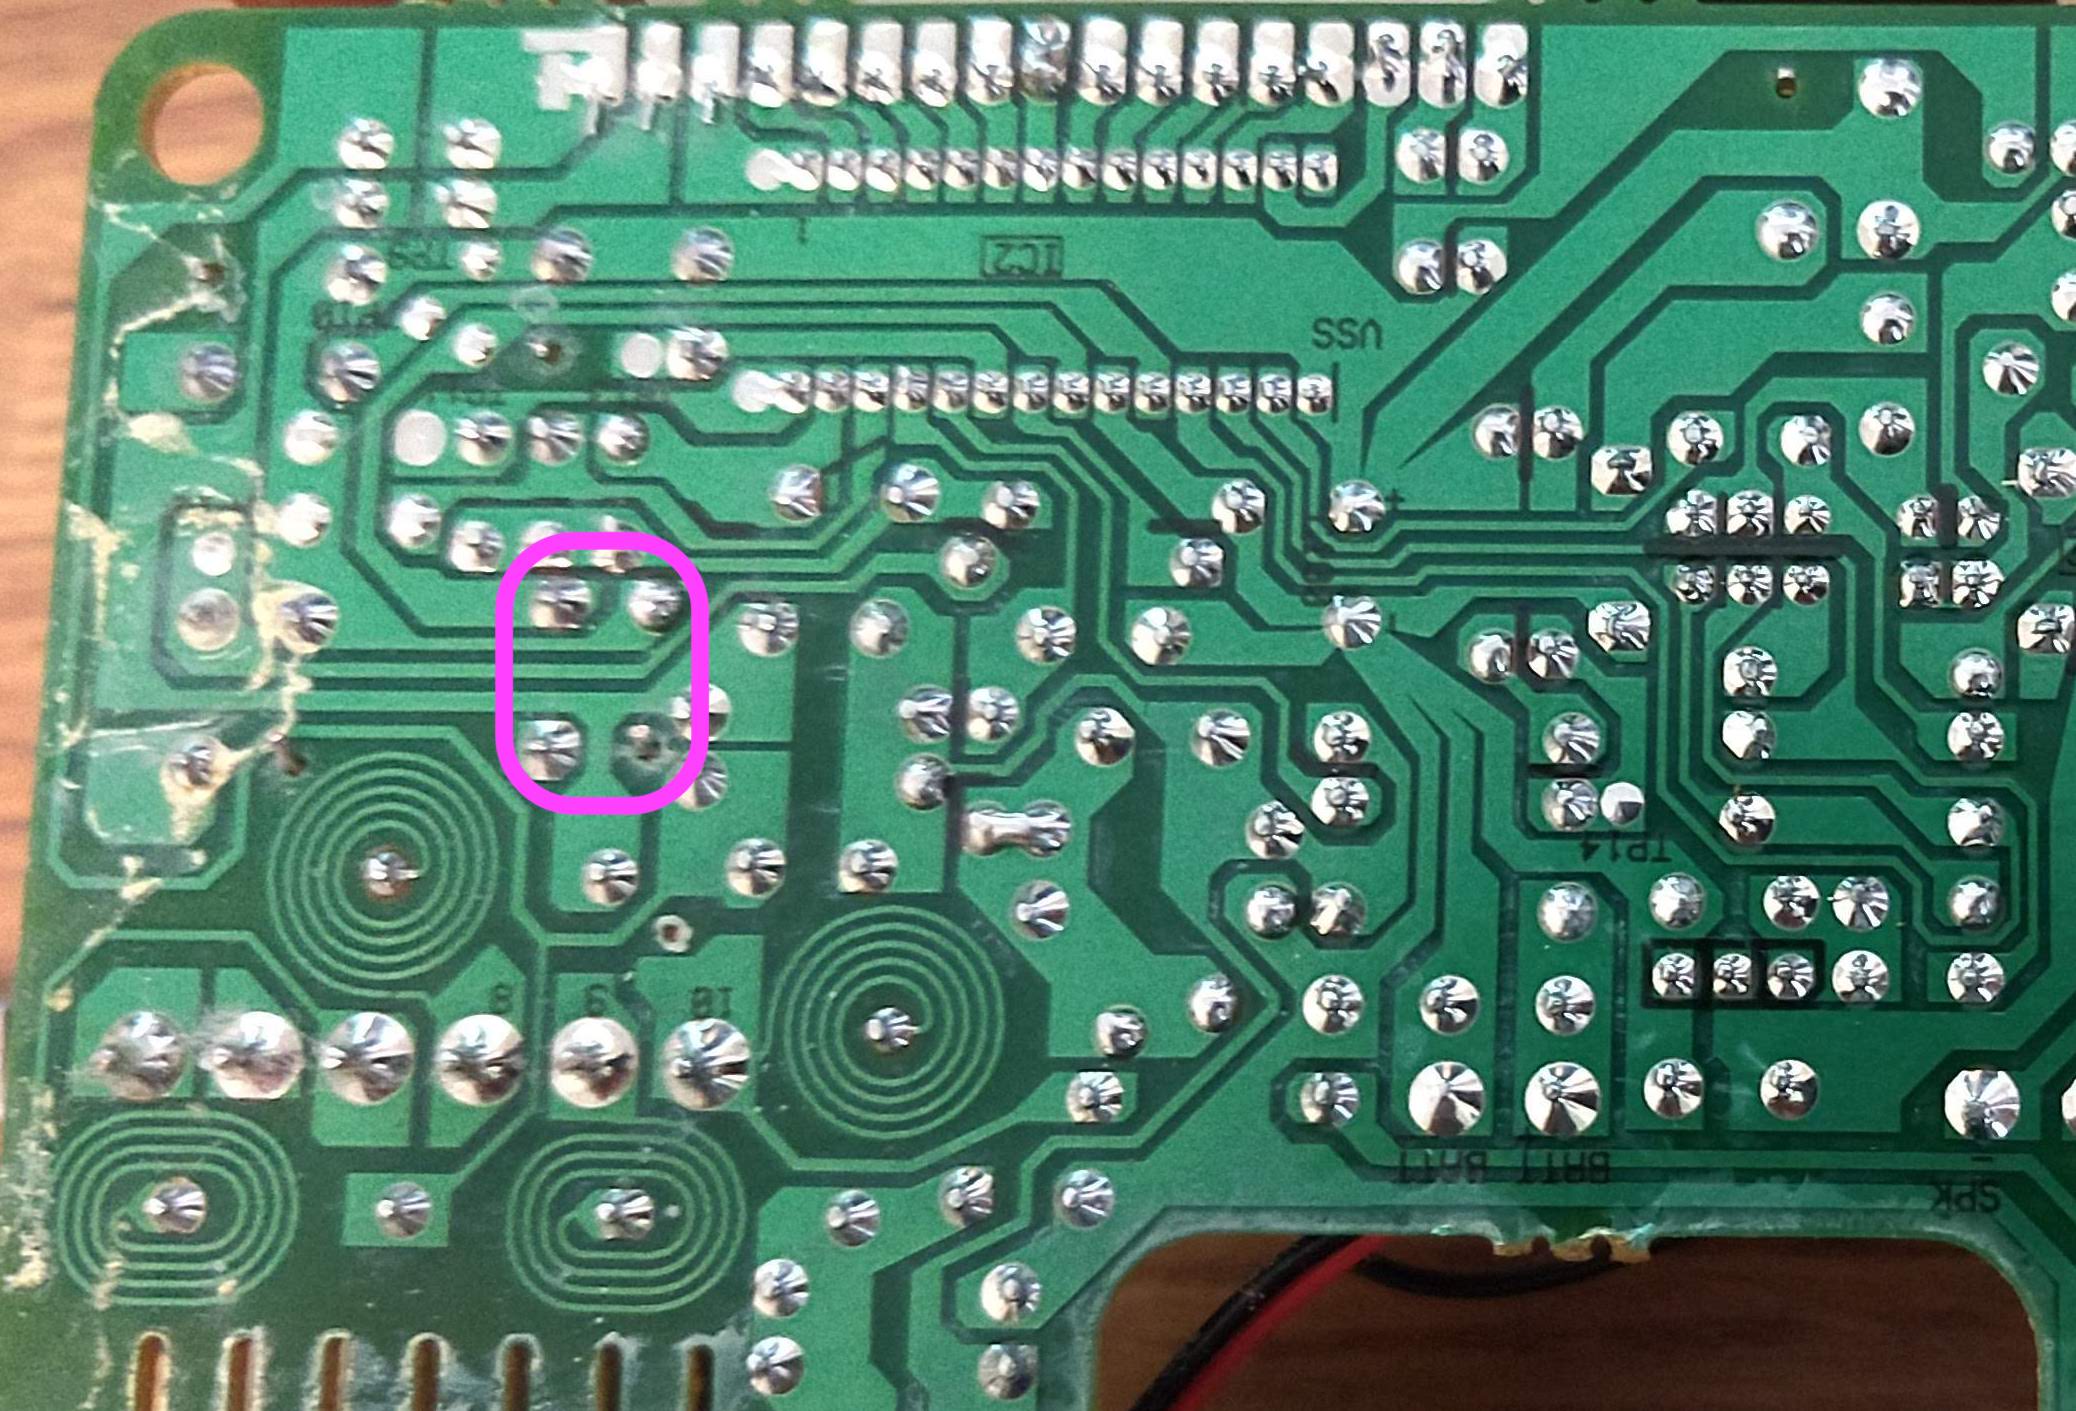
Lifting out the circuit board to examine the underside, I found that only three of the switch’s four pins were soldered. (And one of the three that is soldered doesn’t appear to connect to any traces, so I assume that was just for structural purposes.)
Luckily for me, that made desoldering a bit easier. I managed it with some desoldering wick and the pencil tip that was already in my soldering iron, but it was a bit clumsy.
Using a multimeter in continuity mode and one of the other working switches, I confirmed that the switches I had on hand behaved the same as the ones on the board (normally open, momentary).
As I’m finding is often the case with repair work, installing the new part was much easier than removing the old.
Success! With the new switch installed, I could once again advance the clock’s minute value.
The only difference I noticed was that the new switch is much “click”-ier than the old ones. I’m not sure if that’s a difference in specification, or something to do with wear over time. For something that I interact with infrequently, I’m not bothered by it.
Maybe one of these days I will tackle replacing that main slider switch.